
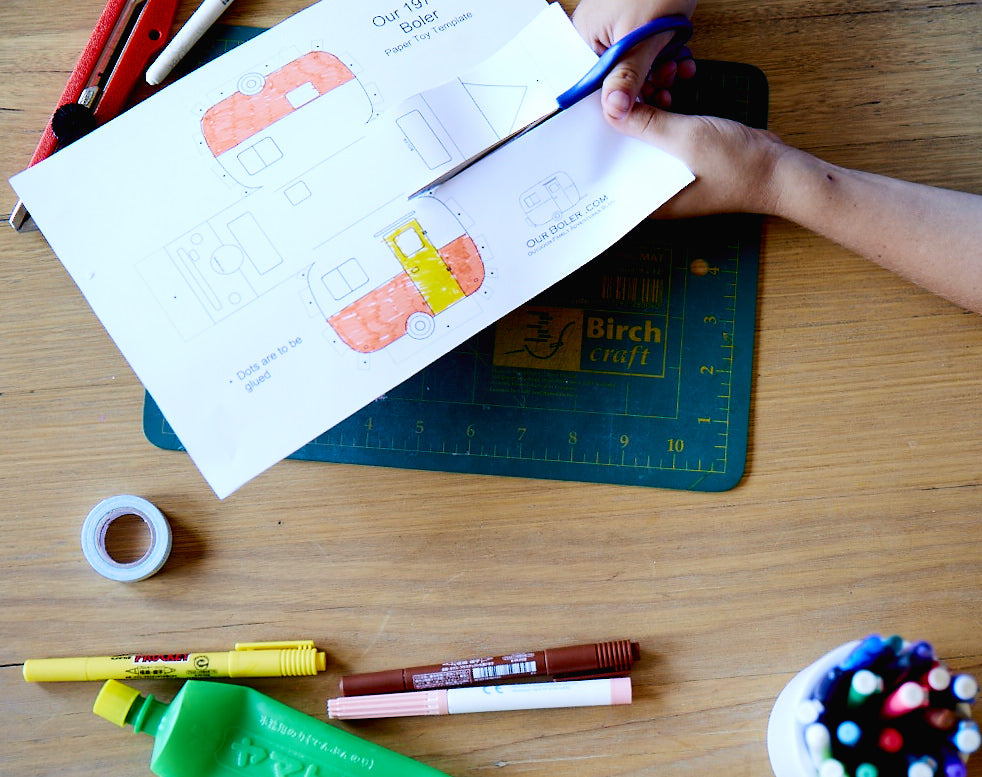
diy mini paper boler!

You will need:
• boler template (download above)
• colour pencils or markers
• scissors
• craft knife
• glue or double-sided tape
*This template has some fiddly cutting and assembling and is best done as a shared child/adult activity 🙂
Directions:
1. Colour in your template using coloured pencils or markers.
2. Cut out along the outside lines of the caravan, including the yellow tabs–do not cut them off.
3. Cut out all of the windows–they are indicated by blue dotted lines.
4. Using a craft knife, carefully cut along the purple dotted lines to separate the bottom of the wheels from the yellow tabs.
5. With the craft knife, now cut along 3 sides of the door leaving the side with the ‘hinges’ so that it can fold open. The line to cut is indicated with green dots.
6. Fold down the sides of the caravan. The red dotted lines shows where to make these folds.
7. Fold down all of the yellow tabs and add glue or double-sided tape to all of the yellow tabs with dots.
8. Fold the centre part of the template around to attach to these dotted tabs. When these parts meet, it should form the shape of the caravan.
9. Secure the bottom of the caravan by overlapping the bottom tabs and also attaching the tabs near the wheels (this can be fiddly).
///

Without a Village

Night-time fears and what to do about them
