Lunch Lady vs Nanna's Apple Pie


Lunch Lady vs Nanna’s Apple Pie
3 March 2014
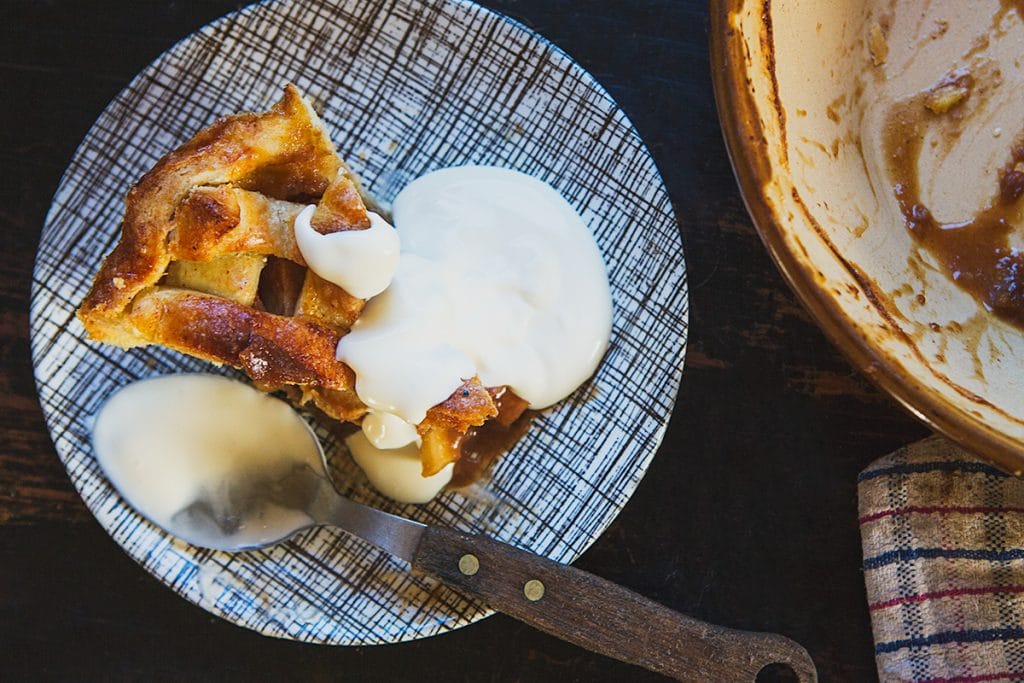
Apple pie. They are two words that instantly send you to a warm, happy place. It is something I could quite easily devour all to myself in one sitting, this is why my kids teacher now has the rest of the pie sitting on her desk ‘as a gift’.
I understand most people think making apple pie from scratch is a bit of a time suck, or a super challenge, but seriously you can make it pretty quickly, if you use a simple pastry recipe. Because at the end of the day, that is what scares people right? Pastry? I remember when I first starting seeing my guy, he LOVED making pies, but was freaked out by the whole making pastry thing. Since I showed him how simple it can be, he now likes to proclaim, “why are people so scared of pastry? It is so simple!” Pretty funny, huh?
Now, because this is a versus, I need to talk about the other side of the equation. There are no prizes for guessing why I have chosen the Nanna’s Apple Pie. We don’t need to get in to that, it has been on the news enough, you get my point.
Apple pie is a pretty special thing for us to make together. Where we live, there are wild apple trees dotted along the road of our daily run. After school, the girls and I stop along the way and fill boxes, hats and school bags with free apples. It is like discovering treasure, and makes our apple pies taste sweeter.
Wild Apple Pie vs Nanna’s Apple Pie
Time it Takes
I usually put this in each vs post, but when chopping the apples I cut the top of my pinky finger off (totally my fault for inappropriate knife choice, apparently a filleting knife is not ideal for chopping apples). I had a bit of a spell between chopping and baking. I finally stopped the clock this morning when we ate some for breakfast.
What You Need
From Scratch Pie
Pastry
- 125ml sour cream
- 250g plain flour
- 200g unsalted butter, chilled
Filling
- 3/4 cup dark brown sugar (you can use normal brown sugar)
- 1/4 cup all-purpose flour
- 3/4 teaspoon ground cinnamon, plus more for sprinkling
- 7 apples, peeled, cored and thinly sliced
- 1 lemon, zested and juiced
- 3 tablespoons butter, diced
- Egg wash, for brushing
- Sugar, for sprinkling
Nanna’s Apple Pie
- Apple (32%)
– Sliced Apple
– Apple Sauce
– Antioxidant (300)
– Firming Agent (509) - Wheat Flour
- Margarine
– Animal Fats and Oils
– Water
– Salt
– Emulsifier (471, 322-Soy)
– Flavour
– Antioxidant (306)
– Colour (160a) - Water
- Sugar
- Thickener (1422)
- Stabilisers (412, 401, 452)
- Dextrose
- Emulsifier (322-Soy)
- Acidity Regulators (331, 330, 341, 297)
- Raising Agents (500, 450)
- Pregelatinised Wheat Starch
- Preservative (220)
From Scratch Cake
- Preheat oven to 220˚C.
- Get out your loveliest pie tin.
- In a food processor pop your flour and diced butter (for your pastry) and whizz it until it is like bread crumbs, or sand as Pepper likes to call it.
- Pop in the sour cream and whizz again, this will turn in to a ball of pastry. Yes, THAT IS IT!
- Roll it in to a ball and flatten it a little, wrap it in cling wrap and pop in the fridge while you make your filling.
- Peel, core and slice your apples. Not with a filleting knife, like I stupidly did yesterday. Appropriate knife usage people.
- Place your apples in a nice big bowl with the sugar, flour cinnamon and lemon zest and juice. Let that hang out in the bowl for a little bit while you roll out your pastry.
- Get your pastry out of the fridge and chop it in half.
- Lightly flour your bench and gently roll your pastry with a rolling pin.
- To make sure it is nice and even, turn your pastry around (i like to imagine the 3, 6, 9 and 12 on the clock and turn the circle to these points, does that even make sense?)
- Once it is about 5mm thick and lay gently in to your pie tin of choice.
- Trim the edges around the pie tin with a knife.
- Pop your filling in the pie crust, and then dot the butter over the top.
- Grab the left over pastry and roll out to make a lid for your pie.
- I like to make a lattice one so the juices all come out through it, it also looks pretty fancy.
- If you want to make a lattice lid, just cut your rolled out pastry in to strips and place in a criss cross manner over your pie.
- Cut off any bits that are too long.
- Fold your pie bottom over your lid. You can crimp it and take it to a whole new level of fancy, but that level is to high for me.
- Brush the egg over your pie pastry and sprinkle some sugar and cinnamon over the top.
- Pop it in the over for about 20 – 25 mins (keep checking, remember my oven is dumb).
Nanna’s Apple Pie
- Preheat oven to 180°C (350°F).
- Remove frozen pie from pack, leave in foil and place on to an oven tray.
- IF frozen, heat for approximately 35-40 minutes, or if thawed heat for approximately 20 minutes. 4. Allow to stand for 5 minutes, then cut and serve.


